Today we are diving into one of the most visually captivating trends that is illuminating the candle community – layered candles. These multi-hued wonders are not only a feast for the eyes but also a testament to the creativity and personal touch you can infuse into your home decor. Let’s explore the allure behind these colourful creations and guide you through crafting your very own.
Why Layered Candles Are Gaining Popularity
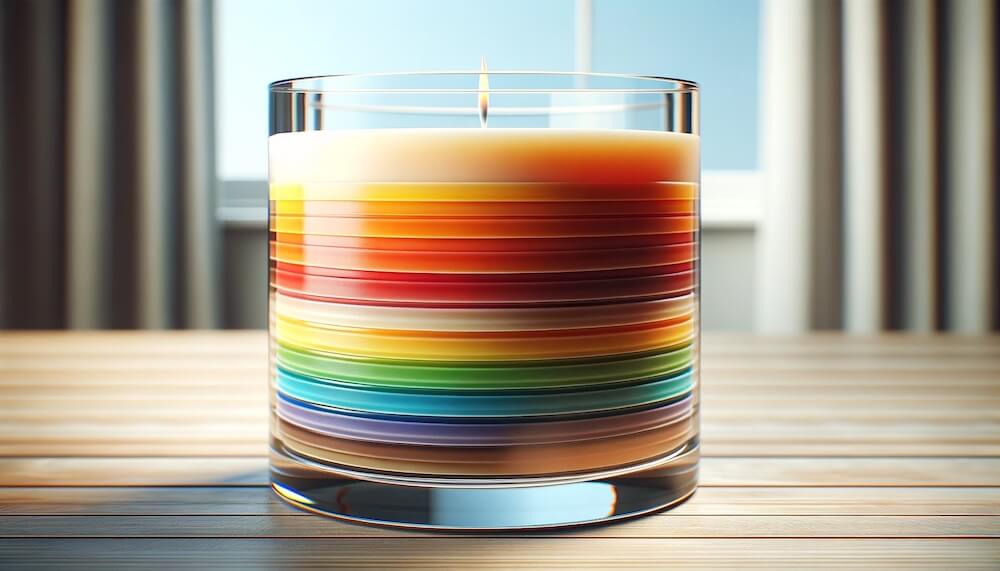
Layered candles have swiftly become a favourite among both seasoned candle enthusiasts and newcomers alike. But what is it about these layered beauties that captivate so many? For starters, they offer an unmatched aesthetic appeal. The distinct layers of colours create a visual story, each hue representing a chapter filled with mood, atmosphere, and personality.
Moreover, layered candles are incredibly versatile. By selecting different fragrances for each layer, you can create a unique scent journey that evolves as the candle burns down. From the refreshing zest of citrus notes to the comforting embrace of vanilla or the earthy undertones of musk, the possibilities are endless. This sensory experience makes layered candles not just a treat for the eyes but also for the nose.
How to Make Your Own Layered Candles
Creating your own layered candles might seem like a daunting task, but with Candle Creations by your side, it’s an enjoyable and rewarding project. Here’s a simplified guide to get you started:
-
Gather Your Supplies: At Candle Creations, we pride ourselves on offering a comprehensive range of natural candle making supplies. You’ll need wax (soy is our most popular choice), wicks, fragrance oils, dye, and a container. For layered candles, we have a wide range of phthalate free fragrance oils to consider plus you could feature one of our Olomé Premium Fragrances and identify the different scents within each layer. We also have an array of dyes to achieve those mesmerising hues.
-
Melt and Colour Your Wax: Begin by melting your wax using a double boiler method or use the Chandler and Me Candle Maker. Once melted, separate the wax into different containers based on the number of layers you desire. Add your chosen dyes to each portion, stirring well to ensure an even colour distribution.
-
Add Fragrance: Once your wax is coloured, it’s time to infuse it with aroma. Add fragrance oils to each wax portion, tailoring each layer’s scent to complement the next – if you need extra help take a look at the fragrance wheel or our fragrance sample packs are perfect for experimenting with different combinations.
-
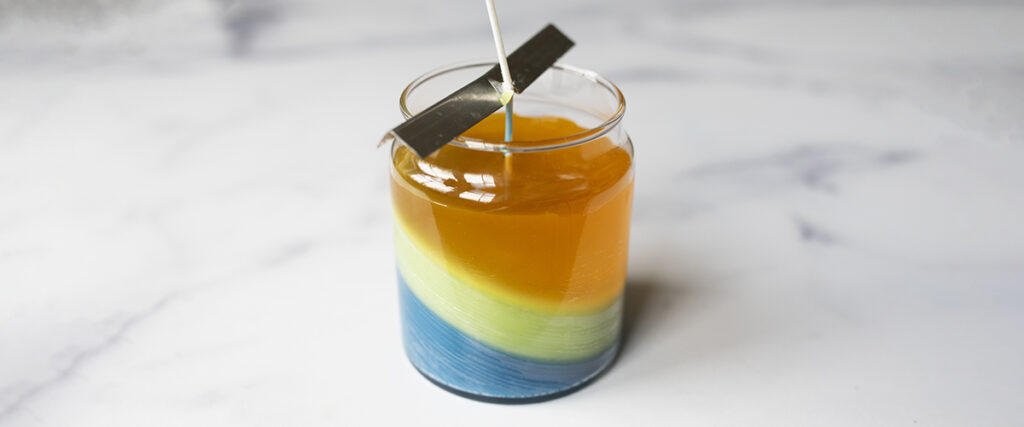
Pour the Layers: Secure your wick in the center of your container. Pour the first layer of wax and let it cool completely before adding the next. This patience ensures distinct, clean layers. Repeat this process until your candle is complete. You can also create a tilted layer by creating a cradboard triangle and leaning the glass jar on its side until it sets.
-
Enjoy Your Creation: Once your candle has fully set, trim the wick, light it up, and enjoy the layered symphony of colors and scents you’ve created.
Embrace the Trend with Candle Creations
At Candle Creations, we’re more than just a supplier; we’re your partner in the creative journey of candle making. Whether you’re drawn to the soothing art for relaxation or to add a personal touch to your home decor, layered candles offer a beautiful and fulfilling project. With our wide range of supplies and tutorials, you’re equipped to dive into the craft and emerge with something truly special.
Layered candles not only brighten spaces but also reflect the maker’s personality and style. As New Zealand’s only EPA certified supplier, we’re committed to providing you with the highest quality and eco-friendly products. Join us in embracing this captivating trend and add an extra layer of beauty to your life.
Happy candle making!