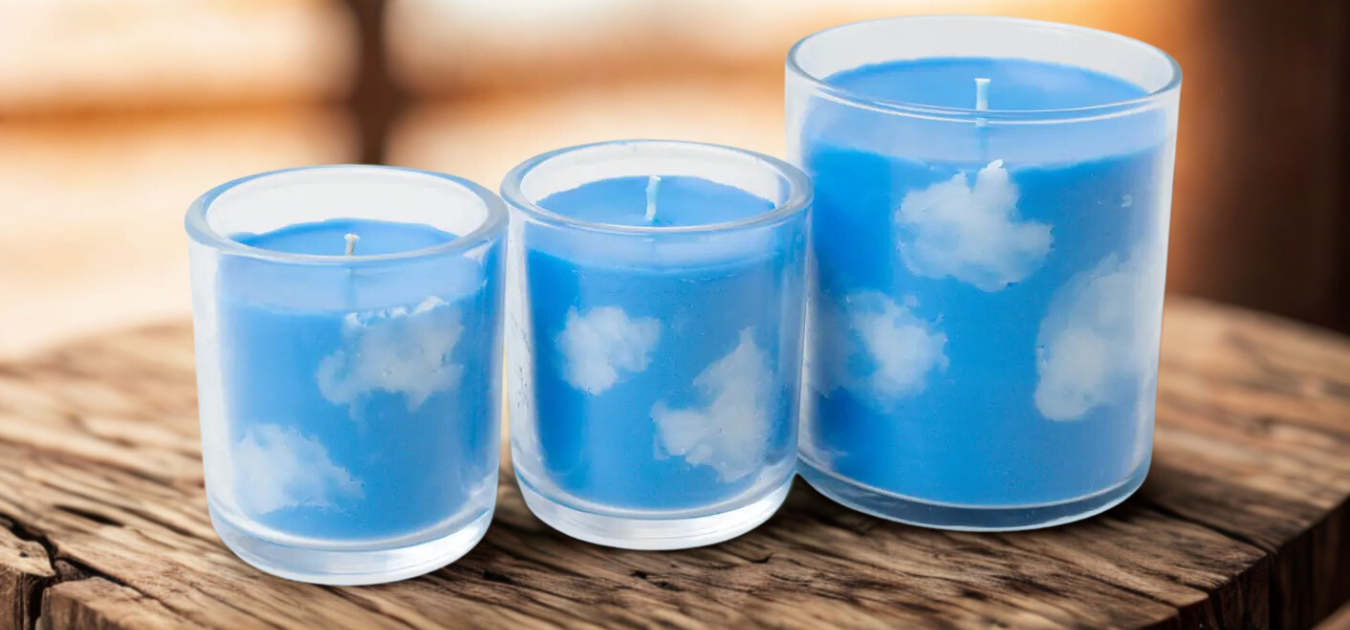
Having fun with candles is easy and In this easy step-by-step tutorial, we’ll show you how to make cloud candles—perfect for adding a touch of fun to your candle making experience. Whether you’re looking for an activity to do in the school holidays with the kids or making them to gift, they’re as fun to create as they are to burn. This versatile technique lets you experiment with different sky scapes, from moody storm clouds to warm, sunset-inspired hues.
Pair your creations with fresh, airy scents like Rainwater or Sea Minerals or East Coast for a clean, ozonic experience.
How to Make a Cloud Candle with GW464 Wax
Level: Beginner
Time: 60 minutes
Result: 1 candle
Materials Needed:
- GW464 Soy Wax
- Clear Glass Tumbler Jar such as one from our Libbey Collection (or any glass container of your choice)
- ACS 7.5 Wick (or a wick suitable for your container size)
- Wick Stickums
- Blue Liquid Candle Dye or Dye Block (or your preferred colour)
- Fragrance Oil (e.g., Rain Water)
- Double Boiler
- Pouring Jug
- Thermometer
- Craft Stick or Small Paint Brush
- Scissors or Wick Trimmer
- Paper Towels
Step 1: Prepare the Candle Jar
- Clean the inside of your jar with a paper towel to remove any dust or residue.
Step 2: Melt the Wax for the Clouds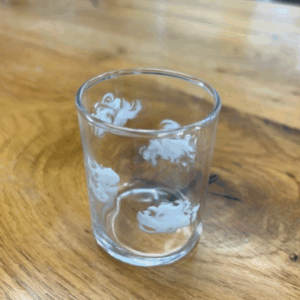
- Set up a double boiler on your stovetop. Add GW464 wax to the top pot or bowl.
- Heat the wax gently, stirring occasionally, until it is fully melted and reaches a temperature of 75-82°C.
- Pour approximately 20 g of melted wax into a pouring pitcher and let it cool to 50°C. The wax should be a slightly creamy consistency suitable for creating clouds.
Step 3: Create the Clouds
- Use a craft stick, small paint brush, or coffee stirrer to apply the thickened wax to the inside of the jar.
- Create cloud shapes by layering strokes of wax. Don’t worry about perfection—clouds can be puffy, wispy, or heap-like!
- Allow the clouds to cool and harden completely before moving to the next step.
- Attach the wick to the centre of the jar using a wick stickum. Press firmly to secure it in place.
Step 4: Melt the Wax for the Sky
- Reheat the remaining wax in the double boiler until it reaches 75-82°C.
- Add your candle dye either 4-6 drops of blue liquid candle dye or grate in some of your blue dye block until you get the desired shade and stir thoroughly.
- Add fragrance oil at a 10% fragrance load. Stir gently for 2 minutes to ensure the fragrance is fully incorporated.
Step 5: Pour the Wax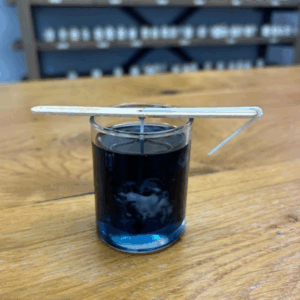
- Let the dyed and fragranced wax cool to 55°C to prevent melting the clouds.
- Carefully pour the wax into the jar, avoiding direct contact with the sides where the clouds are.
- Use a wooden wick stick to centre and secure the wick.
- Allow the candle to cool completely at room temperature.
Step 6: Trim the Wick and Finish
- Once the candle has fully cooled, remove the wick bar and trim the wick to 6 mm.
- Place a warning label on the bottom of the jar.
Step 7: Enjoy Your Cloud Candle!
Light your candle and enjoy. Share your creation with friends or on social media using #CandleCreations.