Using our melt 'n' pour soap bases is an easy and fun way to make your own soaps at home. Choose a mold, some soap, and some fragrance and you're ready to go.
Cut the required amount of soap base into small chunks (approx. 2cm) and place in a double boiler on the stove and heat until the soap starts to melt. Keep an eye on it & stir at intervals. There is no set heat temperature however it should not be steaming and should remain slightly viscous. If you plan to add fragrance do not heat the soap above 80°C.
You can also use a microwave but be sure cover the container with cling wrap to prevent moisture from evaporating. Microwave on high for about 45 seconds & then stir. You want to get it to a point where you have small un-melted chunks left. If there are larger chunks after 45 seconds, microwave in small increments until there are only small chunks left. As all microwaves are different, keep a close eye on it during this process. Stir until all are melted, using the existing heat from the jug.
Add your skin safe fragrance once the base is melted and keep stirring until the soap is no longer cloudy and the fragrance is fully incorporated. As a starting point, start with 7mls fragrance per 470 gram block of soap or 2-4% and work up or down from there depending on the recommendations of the fragrance & your results. Essential oils can also be used. Please familiarise yourself with the safety issues of essential oils and fragrances.
Now add your soap colour if using. The percentage of colour depends on the depth of colour you would like to achieve. Botanical fragrances can also be used to achieve natural colouring.
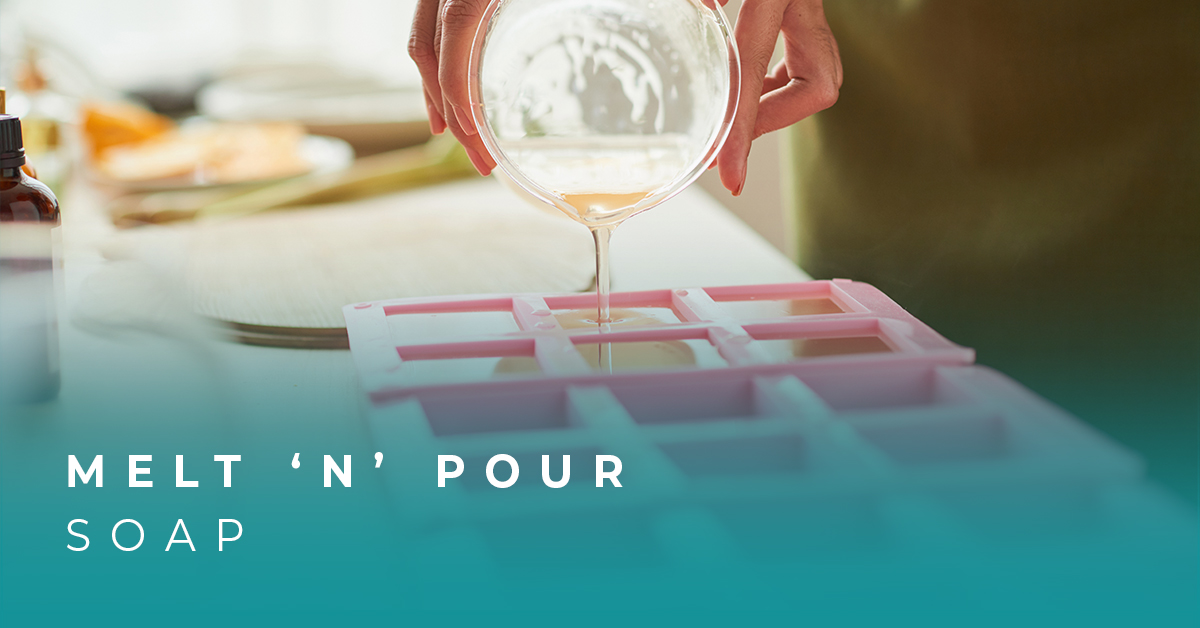
Once your soap has been stirred thoroughly and all ingredients sufficiently incorporated, pour your soap base into its mould, ensuring not to exceed the recommended pouring temperature for the mould. Spray the tops of your soap with rubbing alcohol to disperse any bubbles that form. Leave your soap to dry.
After a couple of hours depending on the ambient temperature, your soap will be ready for demoulding. Turn the mould over and gently apply pressure to the back of the mould, pushing in different areas until the soap is released. If the soap won't budge, place the mould in the freezer for up to 1-hour. The soap should then pop out easily.
Store your soap appropriately to avoid sweating, discolouring, and losing it's moisturizing properties. For short term storage wrap in cling film. For long term storage using shrink wrap on your soap is advised.
Take a look at Our Melt 'n' Pour Soap Range
We searched the planet to find you the most natural Melt and Pour soap available. This quality glycerin soap is made the old-fashioned way and adjusted for crafters’ use. All of our melt and pour bases are
Take a look and let’s get